How to create a virtual tour? If you’re a professional photographer, an amateur, or simply curious about this technology, you’ve probably asked yourself these questions at some point, or maybe you’ve heard them from a client.
And it’s because from the vast collection of Google Street to specialized virtual tours with 3D models, a virtual tour is one of the favorite tools for real estate, tourism, hotel, and automotive companies looking to revolutionize their digital marketing.
As with any learning process, the first step in this landscape is to understand the most important concepts and the best tools to get started, like Pano2VR. That’s why, by the end of this guide, you will learn:
 In addition, a detail of great impact in Pano2VR is that it offers tools to customize the skin of a virtual tour according to your preferences. This allows you to create experiences adapted to the theme or purpose of your tour, your branding and storytelling.

- What Pano2VR is.
- Why Pano2VR is the best tool for creating virtual tours.
- Basic concepts you should know to get started.
What is Pano2VR?
Pano2VR is powerful software for developing virtual tours that transforms panoramic or 360-degree images, photos, and videos into interactive experiences. This software assists you in creating immersive online experiences that can be used in any web browser and adapt to desktop computers, mobile devices, and virtual reality. The greatest advantage of Pano2VR is that it is a no-code software, featuring a user-friendly interface and the widest range of features when compared to other virtual tour programs.What is a 360 Photo?
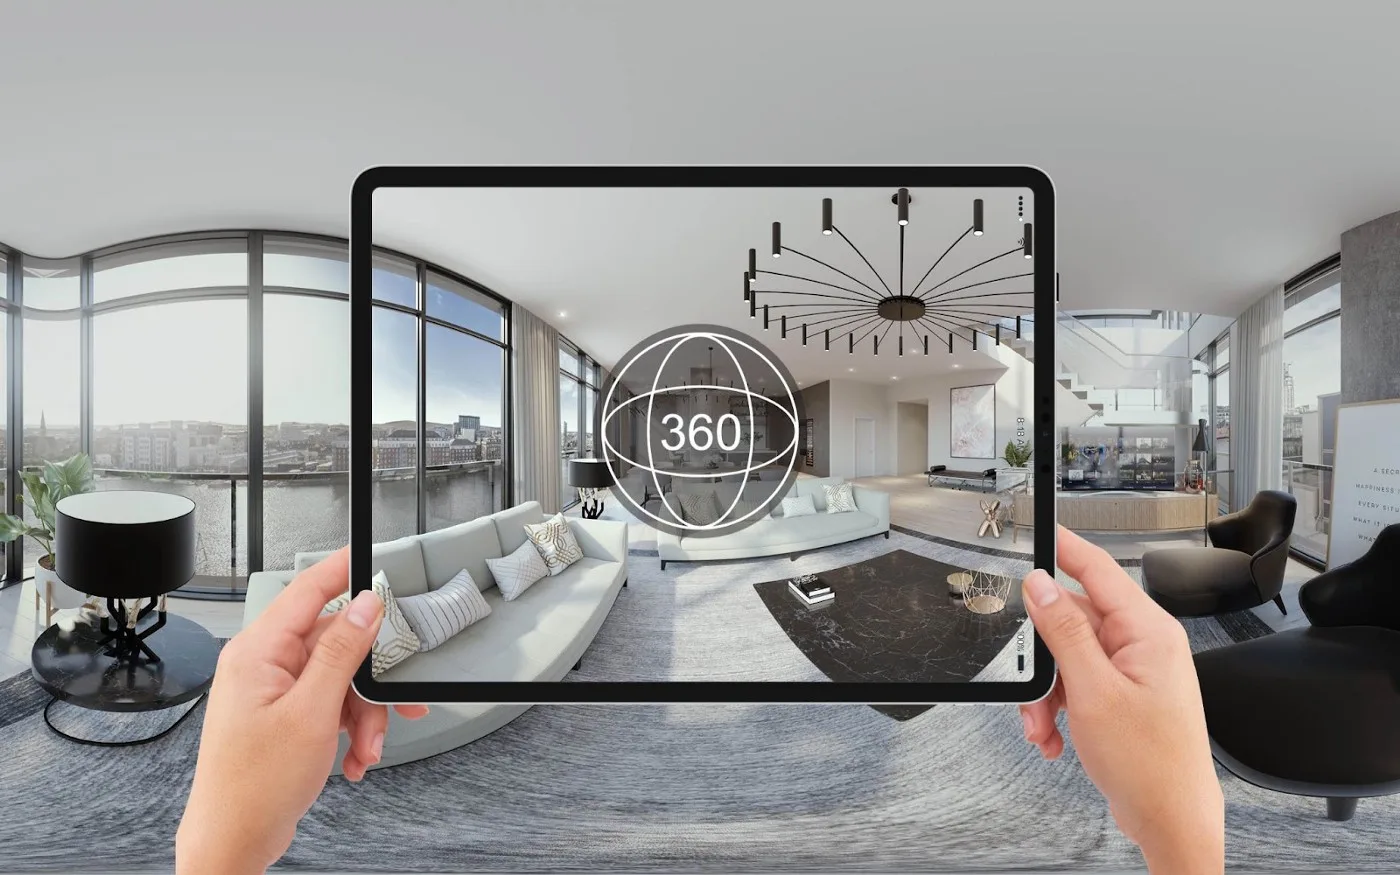
360 photos or images are the cornerstone of a virtual tour. A 360 photo is an image that captures a complete view of an environment from all angles and directions: above, below, and all around. With 360 photos, you can provide an immersive experience to your users, as you offer a highly realistic view of a space, making them feel as if they are in the place and moment when the photo was taken. Although Pano2VR supports large photos, such as 180-degree panoramic gigapixel images, it’s ideal to always use spherical or 360-degree formats to achieve the immersive effect. It’s also advisable that your images are of high quality. The larger the size and resolution of the photograph, the better it will perform.Hotspots in Virtual Tours
Hotspots are another fundamental element in a virtual tour. A hotspot is an interactive point or area that appears marked on 360 photos or videos, allowing users to trigger various actions when clicking on them. The most common type of hotspot is used to change scenes, meaning to visit different scenes (or 360 images) available in a virtual tour. Let’s say you are in the “Garden” scene of a virtual tour of a house and want to explore its interior. You rotate the image, and a point appears on the front door that says “Hall.” Clicking on it changes the scene, and suddenly, you are inside the house. This type of hotspot is also used to change your location within the same scene. Now, imagine you are in the hall, and you can see the living room next to you, but you’d like to view it from a different angle. Again, a point saying “Living Room” appears; you click on it, and you appear next to the sofa. Just like in the previous examples, hotspots can be configured to offer a variety of interactions and multimedia content, such as:- Videos.
- Images.
- Web pages.
- Information blocks.
What are Nodes in Pano2VR?
If you’re using Pano2VR for the first time, you’ve probably encountered nodes and are wondering what they are. Nodes are a feature that often confuses those who are new to Pano2VR, but they are quite simple to understand. A node refers to a specific point within a virtual tour. Each node is a particular location or position from which a 360-degree photograph has been taken. Nodes are interconnected in Pano2VR to create navigation between different points. This is how a virtual tour is constructed. In our example of the house, the Garden, the Hall, and the Living Room would be three individual nodes that are interconnected and can be accessed by clicking on their hotspots. Do you see how everything connects?Multimedia Content in Virtual Tours
A virtual tour can be a highly advanced tool to which you can add a wide range of multimedia content beyond 360-degree images. Some basics include:- Embedded videos in hotspots or even within the 360 image.
- Audio, including narrations, sound effects, or music.
- Interactive geographic maps or floor plans.
- Popup texts with descriptions or stories.
- Interactive 3D models.
- Links or buttons with connections to external resources.
- Forms, questionnaires, or surveys.
Skins in Virtual Tours
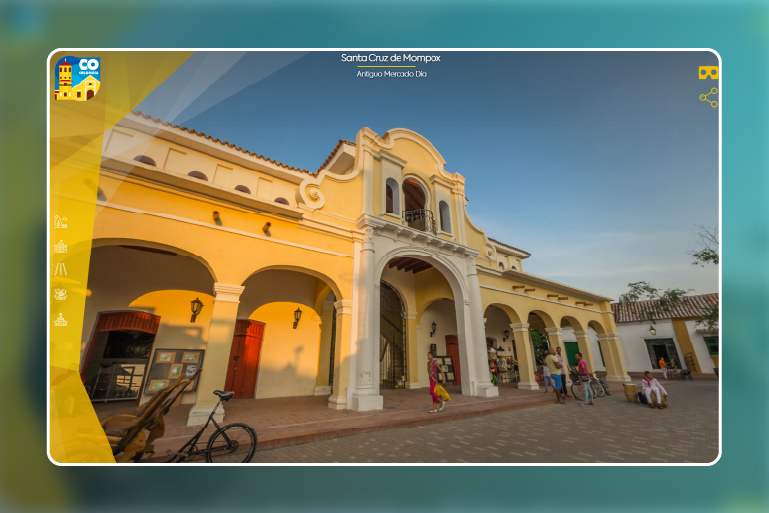
Like nodes, skins are another important concept that isn’t always entirely clear. In a virtual tour, a skin refers to the user interface, which includes all the graphical elements that surround and complement the 360-degree images, photos, or videos. The skin is like the “look” or advanced design over the content of the virtual tour because a tour without a skin is just a set of interconnected 360 images with a few navigation buttons. A skin typically includes custom navigation buttons, zoom controls, drop-down menus, and other interactive elements that enhance the user experience. Take a look at the following example of a virtual tour created by Perspektiva for the Universidad El Bosque: In addition, a detail of great impact in Pano2VR is that it offers tools to customize the skin of a virtual tour according to your preferences. This allows you to create experiences adapted to the theme or purpose of your tour, your branding and storytelling.
What are Navigation Elements?
As we’ve seen, Pano2VR allows you to assemble your 360 photos or videos to create a highly immersive virtual tour. However, this wouldn’t be possible without the basic tools for exploring it: the navigation elements. Navigation elements in a virtual tour are essential interactive controls within a skin that make it easy and efficient for you to interact with and explore the virtual environment. Some examples include:- Direction buttons: Allow movement in the 360 environment in all directions.
- Zoom controls: Make it easy to zoom in or out of the 360 image for detailed examination.
- Rotation buttons: Allow you to rotate the view in different directions. Automatic rotation can be configured.
- Interactive maps: Maps that provide an overview of the virtual tour and allow you to select specific areas to explore.
- Shortcuts: Buttons that provide quick access to specific locations within the virtual tour.
- Position indicators: Show the user their location within the virtual tour to provide orientation.
What are Navigation Modes?
Sometimes, a single virtual tour can serve different purposes, such as when a company creates a virtual version of its facilities for employees and customers. When the same virtual tour is designed for different user profiles, it’s useful to create specific routes, and this is where navigation modes come into play. The navigation mode of a virtual tour refers to the configuration that determines how users can explore the virtual environment. Pano2VR offers several navigation modes to cater to different project needs. The most common ones include:- Free Mode: Allows viewers to explore the virtual environment and visit all scenes without restrictions.
- Guided Mode: Provides specific routes or paths for the user, making a virtual tour a more personalized experience.
Analytics in Virtual Tours
Like any web development, a virtual tour can also provide data that helps understand user behavior while visiting it. With a virtual tour, you can measure data such as the number of visitors, the time they spend in the tour, the most visited areas, and much more. Analytics are valuable information for improving your tours and are also beneficial for professionals working in architecture, marketing, interior design, or experience design. However, analytics is an advanced feature. To implement them in virtual tours, it’s necessary to integrate an external system like Google Analytics. This specialized platform can track numerous variables and provide reports effectively.How to Publish a Virtual Tour Online?
A virtual tour functions like a website or web application, which means that technically, it consists of a set of files that interact with each other and are stored on a web hosting server. Some types of files you may need to host for your virtual tour online include:- Images.
- HTML files.
- XML files.
- CSS files.
- JavaScript files.
What is Responsiveness?
Responsiveness, in general, refers to a content’s ability to adapt and display optimally on different devices. With a wide variety of digital devices out there, there are many ways to access online web developments, and virtual tours are no exception. In fact, smartphones are the most widely used devices today, so if you want to reach many users with your virtual tour, you should adapt it to different types of screens and interactions. Fortunately, Pano2VR makes it easy to edit your virtual tours to automatically adjust to different screen sizes. You can even create content for virtual reality devices like Meta Quest glasses.


